|
...Continued from Page 15.

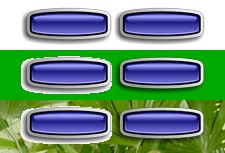
An example of how single color transparencies (left column of buttons) and PNG alpha transparencies (right column) work. |
The beauty of this type of transparency compared to the old “single color” version is that you can create smooth, professional buttons that look fantastic when placed over any type of background. Previously, if you had a round button with a shadow that was intended to be placed over a white background, it was not possible to simply change the background color later, as the button would have a irregular white fringe around it and the shadow would continue to fade to white (see example diagram). With PNG transparencies, objects will look correct when placed over anything.
Finally, ProntoProEdit NG can now work with JPG files, and bitmaps from a layout can be saved to disk, an important and basic capability that was strangely absent in previous software versions.
The Five Commandments
Double-clicking on a new button opens the Device Properties’ “Actions” tab, where all operational commands are placed. The two radio buttons on the left select between “Normal Actions” (such as device commands, delays and page jumps) and a “Special Action” (such as activating the backlight, browsing to a previously viewed page, switching to the next device, jumping to the home page or accessing the Tools Menu). It’s impossible to combine a special action with normal commands, or to stack multiple special actions on the same button (such as going back three pages at once). However, the remote does support a nearly unlimited number of normal actions on each button – better known as macros.
Along the right side of the screen are five new command types: “Add IR Code”, “Create Link”, “Add Delay”, “Add Beep” and “Create Jump”. Each of these adds a single line, or macro step, to the “Normal Actions” window on the left. The order of commands can be changed at any time via two arrow buttons. On the ProntoPro NG, normal buttons with just one function are still technically macros – just very short ones!
“Easier” by degrees.
When ProntoEdit NG first came out, I commented that it succeeded in making programming the hardware easier in all but two situations: assigning preprogrammed codes and learning infrared commands. Although preprogrammed codes are still tricky to deal with, learning commands have improved.
The “Add IR Code” command merges preprogrammed code selection and learning onto a single screen. If you’re after a database code, select the “IR Code from the Universal Database” radio box followed by the device type, brand and code number from the pull-downs on top, then pick the exact command from a comprehensive list on the right. It’s more difficult to determine the correct code number in ProntoProEdit NG than on the remote, as there are no automated search routines and every button in a device must be assigned individually. A “Test” button can be used to send the selected code through a remote attached to your PC, but that’s only useful if your computer is near the device being programmed.
  
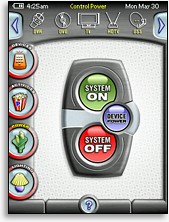
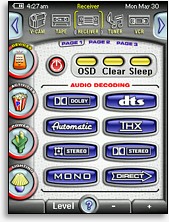
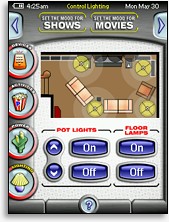
An example of how screens can be customized with PPENG. |
| 
